
I started my career without much luxury that people get these days. During my initial days, internet was not available to everyone in my organization. Also there was no option to download the packages from remote repositories like maven, yum etc.
In my project, there were several requirements to build large scale big data infrastructure. The installation of these software in the an isolated environment without internet was a pain. Initially, we used to do the installations using tarballs. Later, it became very difficult to manage dependencies and install large platforms.
So I had to find some approach to create local repositories of all these packages. Here I am explaining the process of synchronizing a YUM repository from the remote repository to the local directory and create a local repository out of that.
Synchronize YUM repository in the local disk
The approach involves the following steps.
- Download the packages locally
- Copy it to the isolated machine either through network or through a USB drive or DVD.
- Set up local repository in the machine.
We need yum-utils package to perform the activity. This need to be performed in a machine with internet access.
yum install yum-utils
After that we will need to add the repo file of the remote repository. Let us take the example of docker. The repo file of the docker can be downloaded from the following URL.
https://download.docker.com/linux/centos/docker-ce.repoExecute the following command to add this repository to your machine.
sudo yum-config-manager --add-repo https://download.docker.com/linux/centos/docker-ce.repo
After that execute the following command to refresh the yum cache
yum clean all
Now create a directory in the machine which has enough space to store the packages present in the remote repository. In our case, the docker-ce-stable repository has a size of around 2.5 GB. So create a directory in a disk which has enough space.
I am going to create a directory docker-packages
mkdir docker-packages
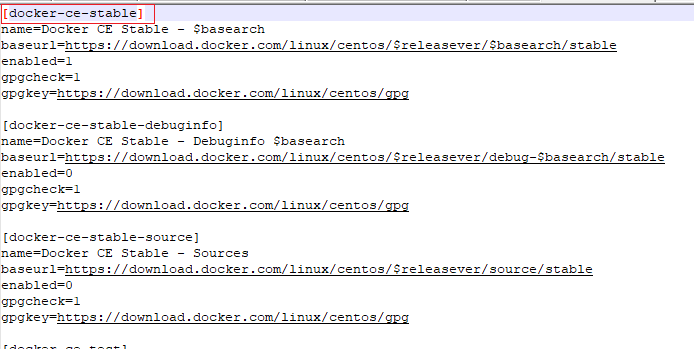
Now, let us pick up the repository name from the repo file. The repo files are locally present in the the following location
/etc/yum.repos.d
Open the file and get the repository name. In our case, the repository name is docker-ce-stable. There are other repositories present in the same repo file, but we are not interested in that.
Now let us synchronize the repository. The syntax is given below. This command will take time depending upon the speed of your internet and the size of the repository. You need to keep the system running till the synchronizes completely. You can run this command within screen if you are planning to run in background.
reposync -p <local-directory> --repo=<repository name> --download-metadata
The command for us is given below.
reposync -p docker-packages --repo=docker-ce-stable --download-metadata
Now you will be able to see the progress of the sync. The screenshot of the same is given below.

After the complete download, you will be able to see a copy of the remote repository in your local machine.
You will see the below directory structure inside the locally synced repository. There will be around 144 packages. I have taken this screenshot before the process is complete and due to that, my screenshot shows less number of packages.

With this, we have the remote repository cloned to the local disk. Now we can create a repository from the local machine and use this repo for the installation in the same machine or other machines in the same network.
You can configure a local repository by creating a repo file that points to the repo directory. An example is given below.
[docker-ce-local]
name=Local Docker Repository
baseurl=file:///data/docker-packages/
enabled=1
gpgcheck=0
Now refresh the yum cache in the machine
yum clean all
After this, the new repository will be usable from the local. If you want to use this repository in other machines in the same network, you will need to host the packages within a webserver like Nginx or Apache HTTPD server. Instead of the local path, you just need to give the URL of the repository. I have explained the steps in one of my earlier blogs.
I hope this article is useful. Feel free to comment if you have any questions or suggestions.
